


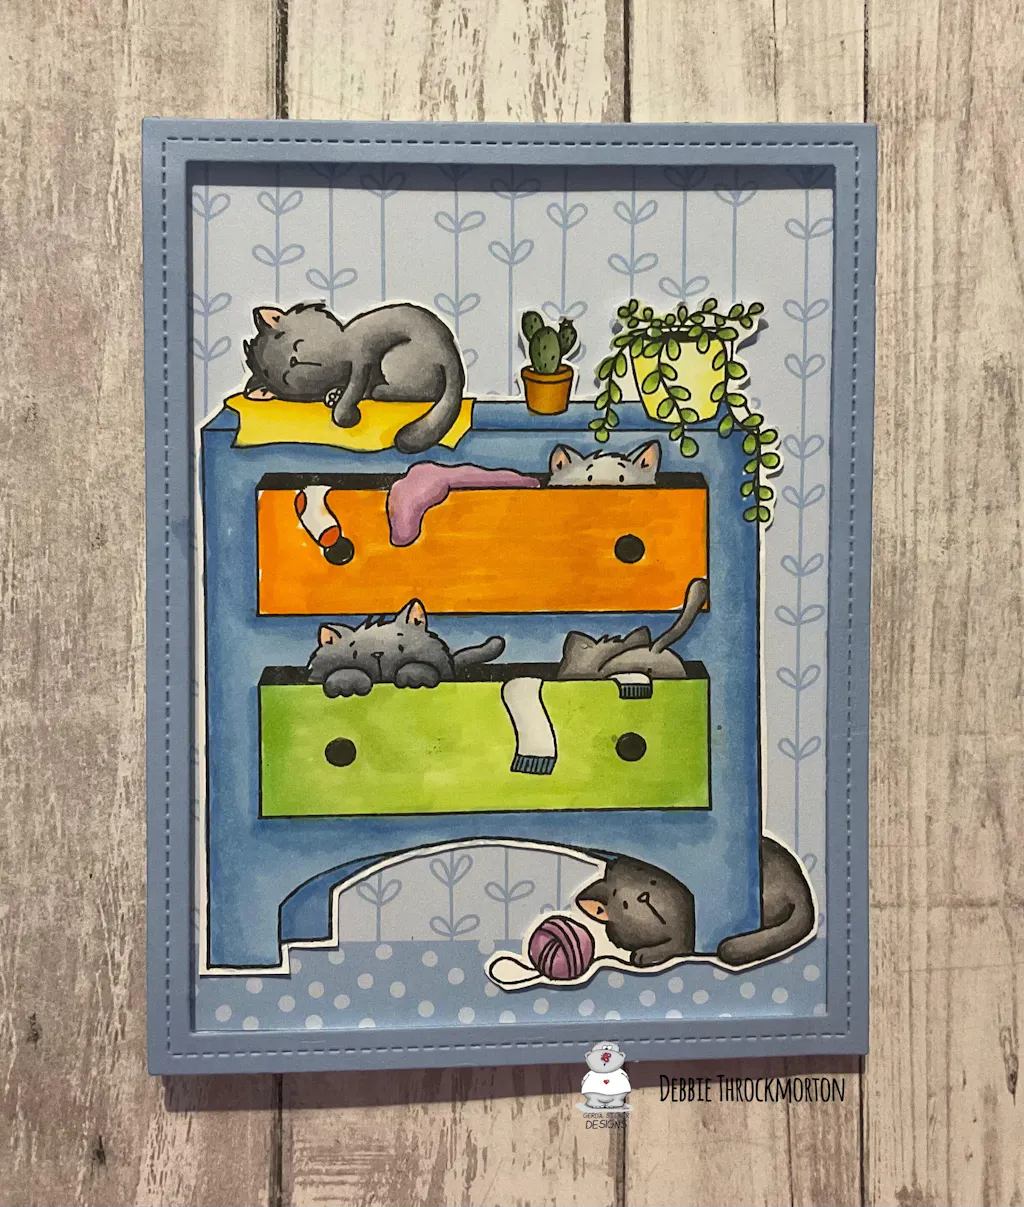
I had so much fun playing with this stamp. It will be perfect for making and giving to all my cat loving friends. This all in one stamp is great for when you don’t want to have to think about what stamps to combine to create a scene. The scene as been created!!
So happy this stamp was made available again, I have several ideas, especially for my daughter who loves mooses😊
Have not had a chance to design with the set yet, but could not be happier that I ordered it. It is so cute! I have never been disappointed with any of the products I have ordered from your company. Thank you!
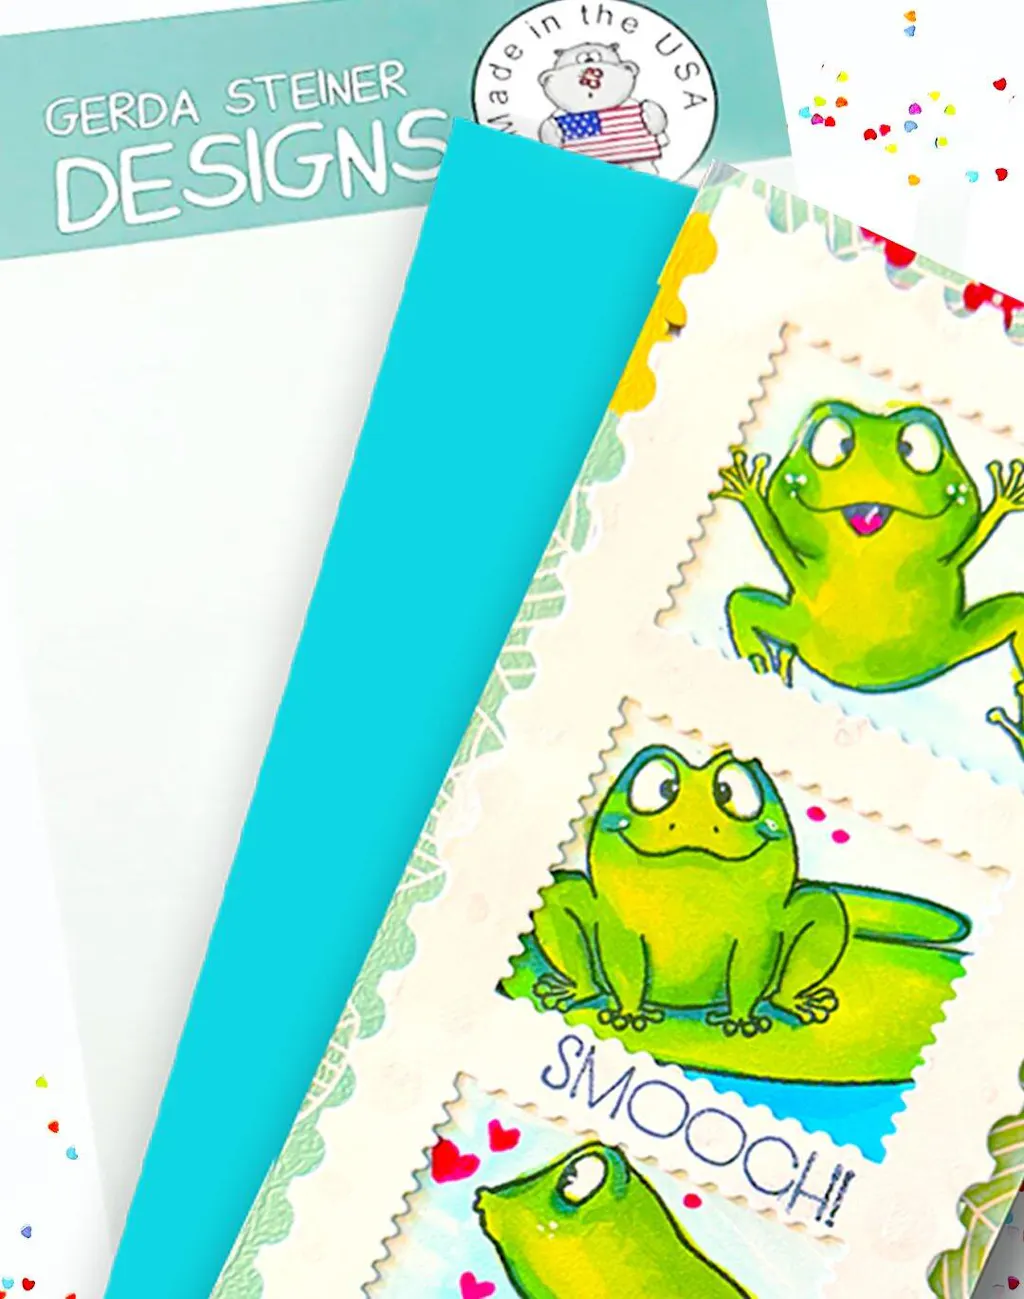
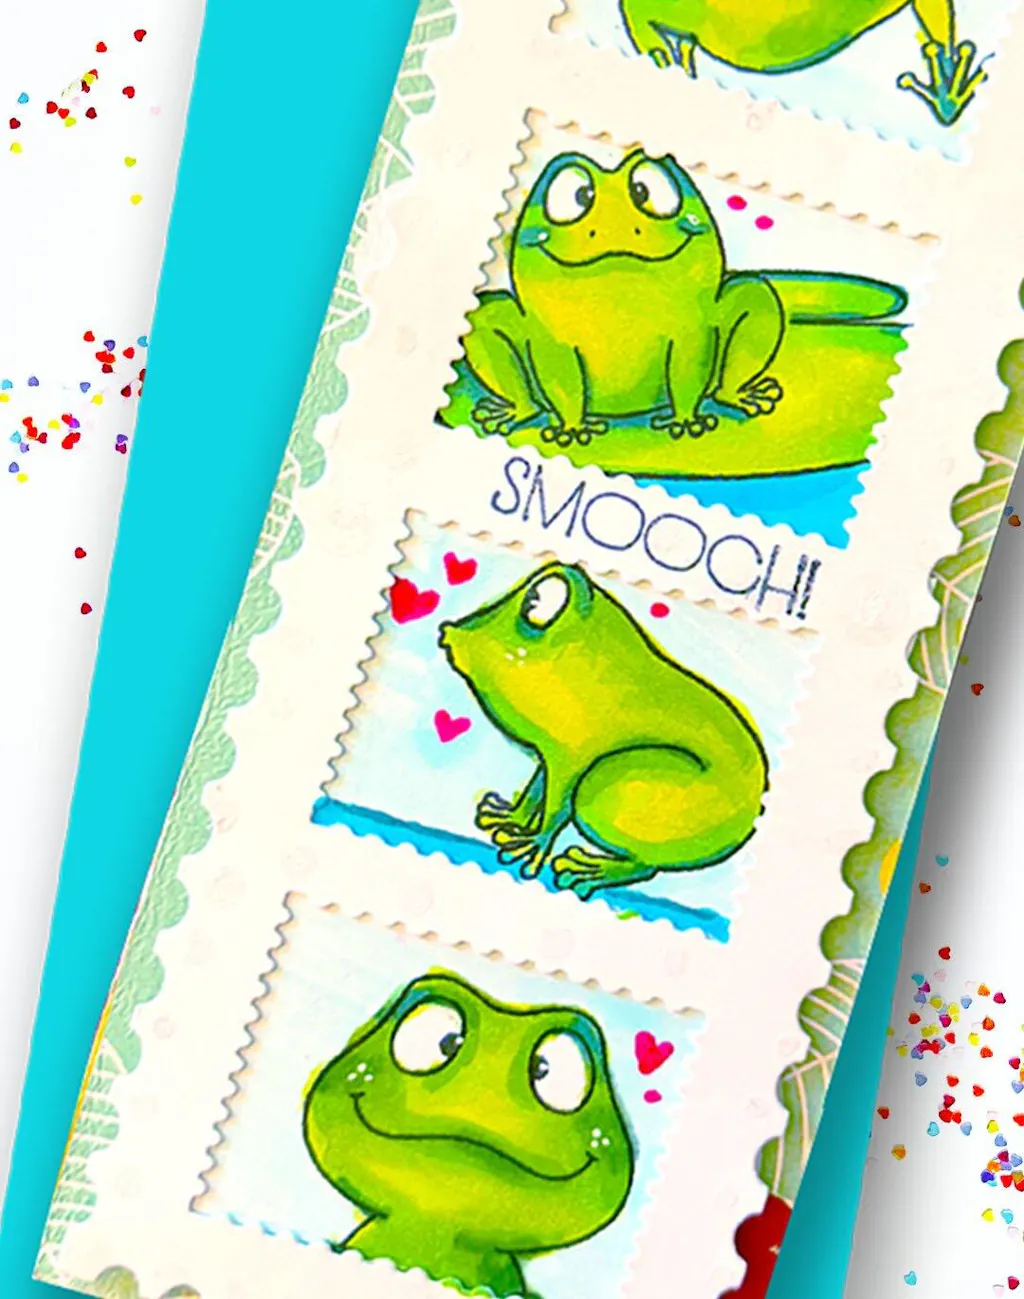
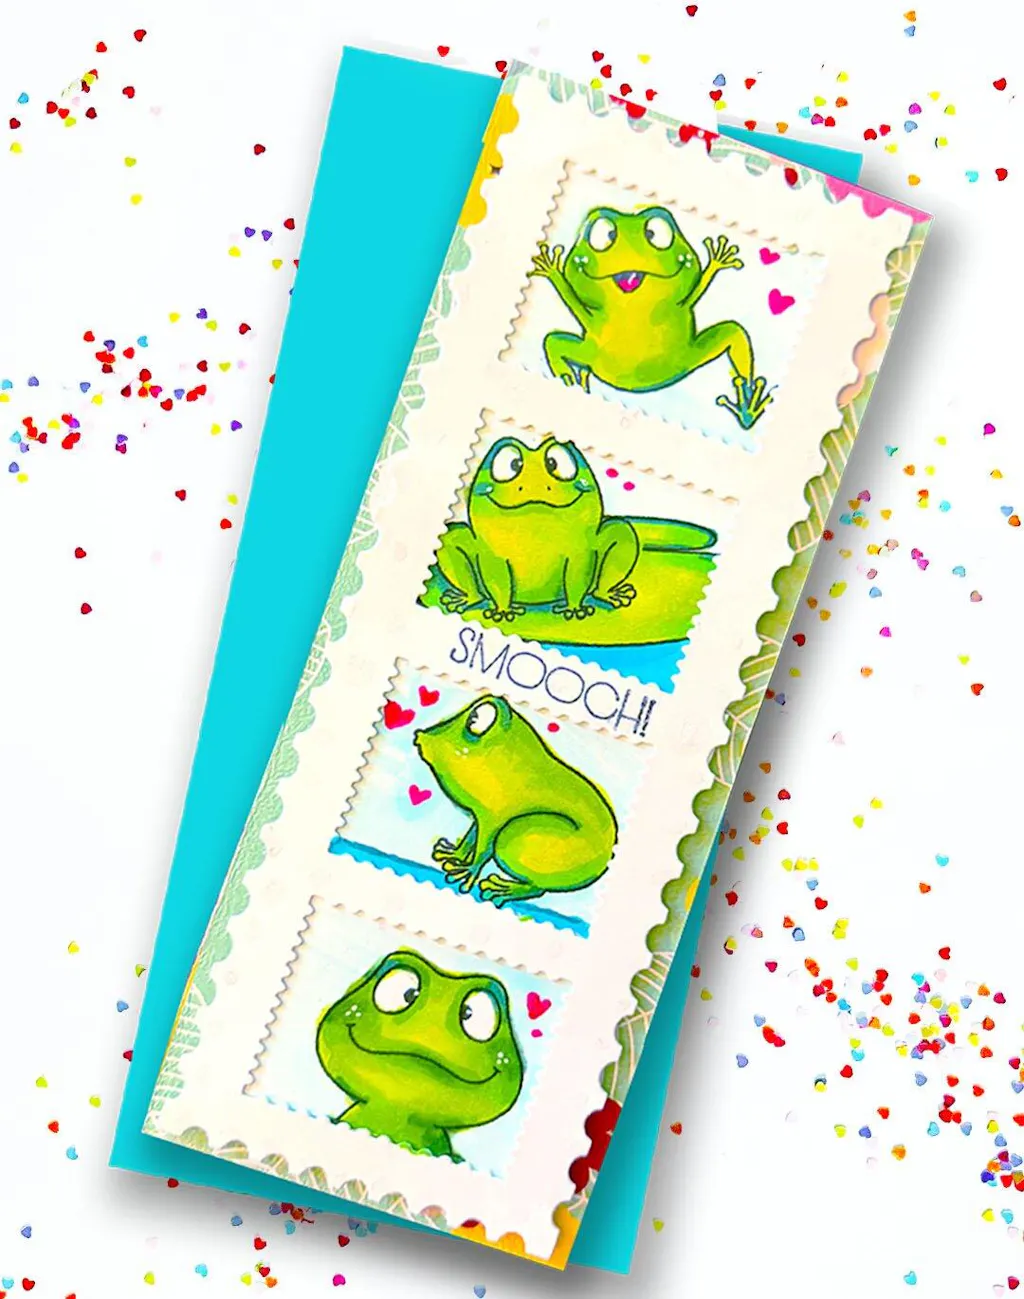
Very fun to use ALL the cute frogs on one card!!!