


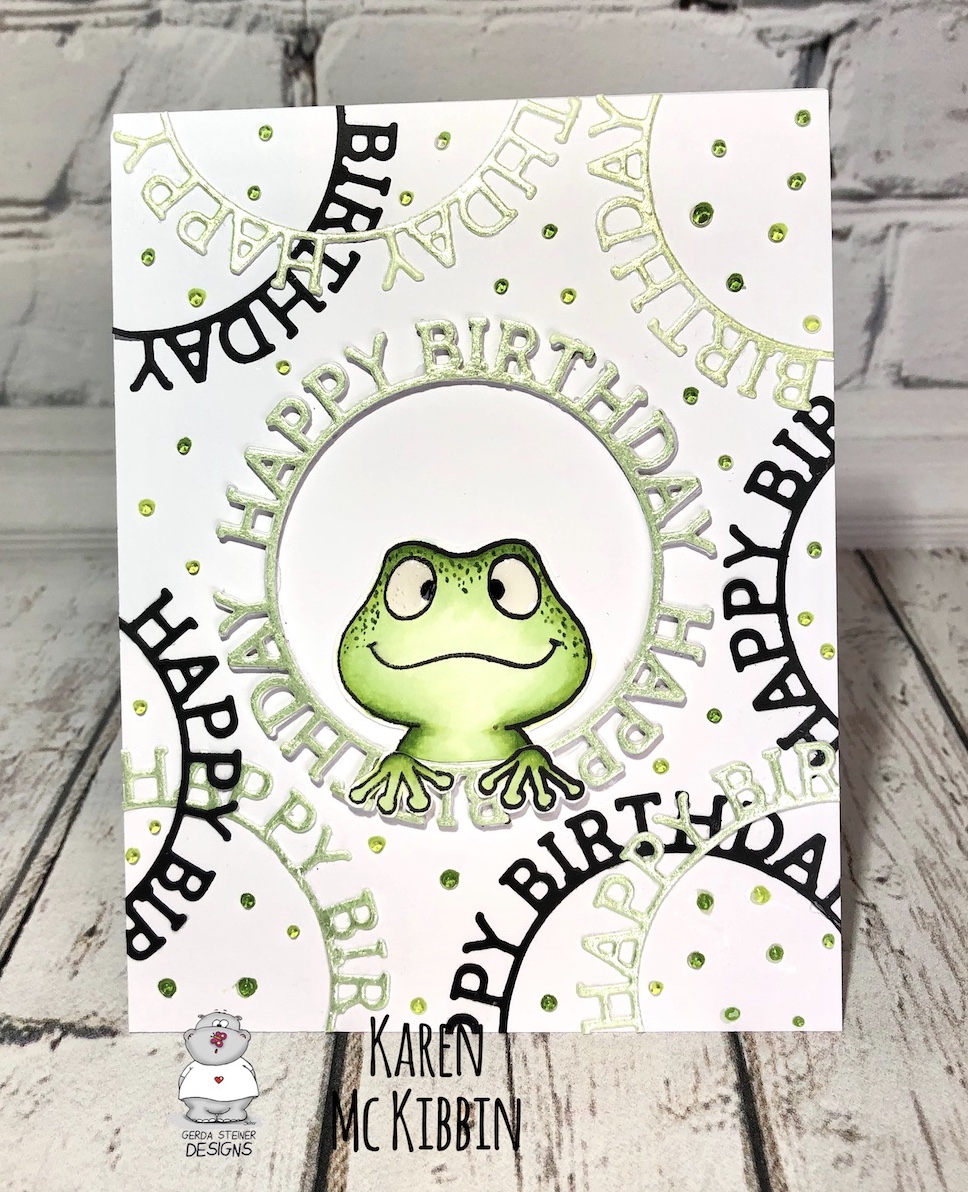
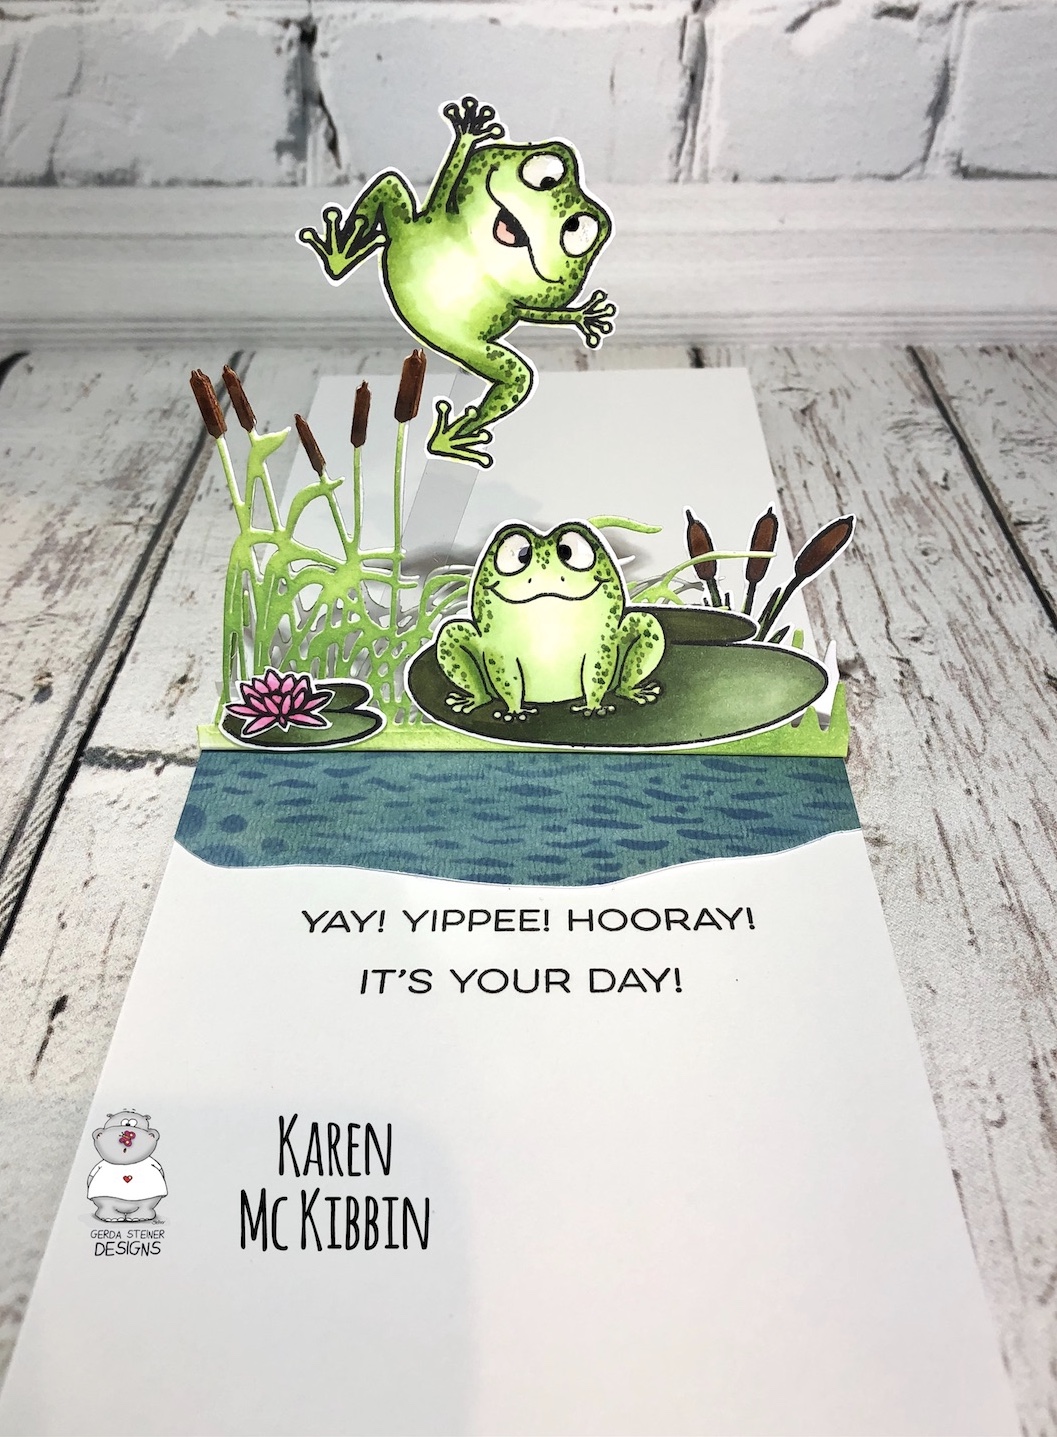


These stamps are so adorable and versatile, I absolutely love them!
I absolutely love this new set. It makes such fun cards and is a blast to create with.
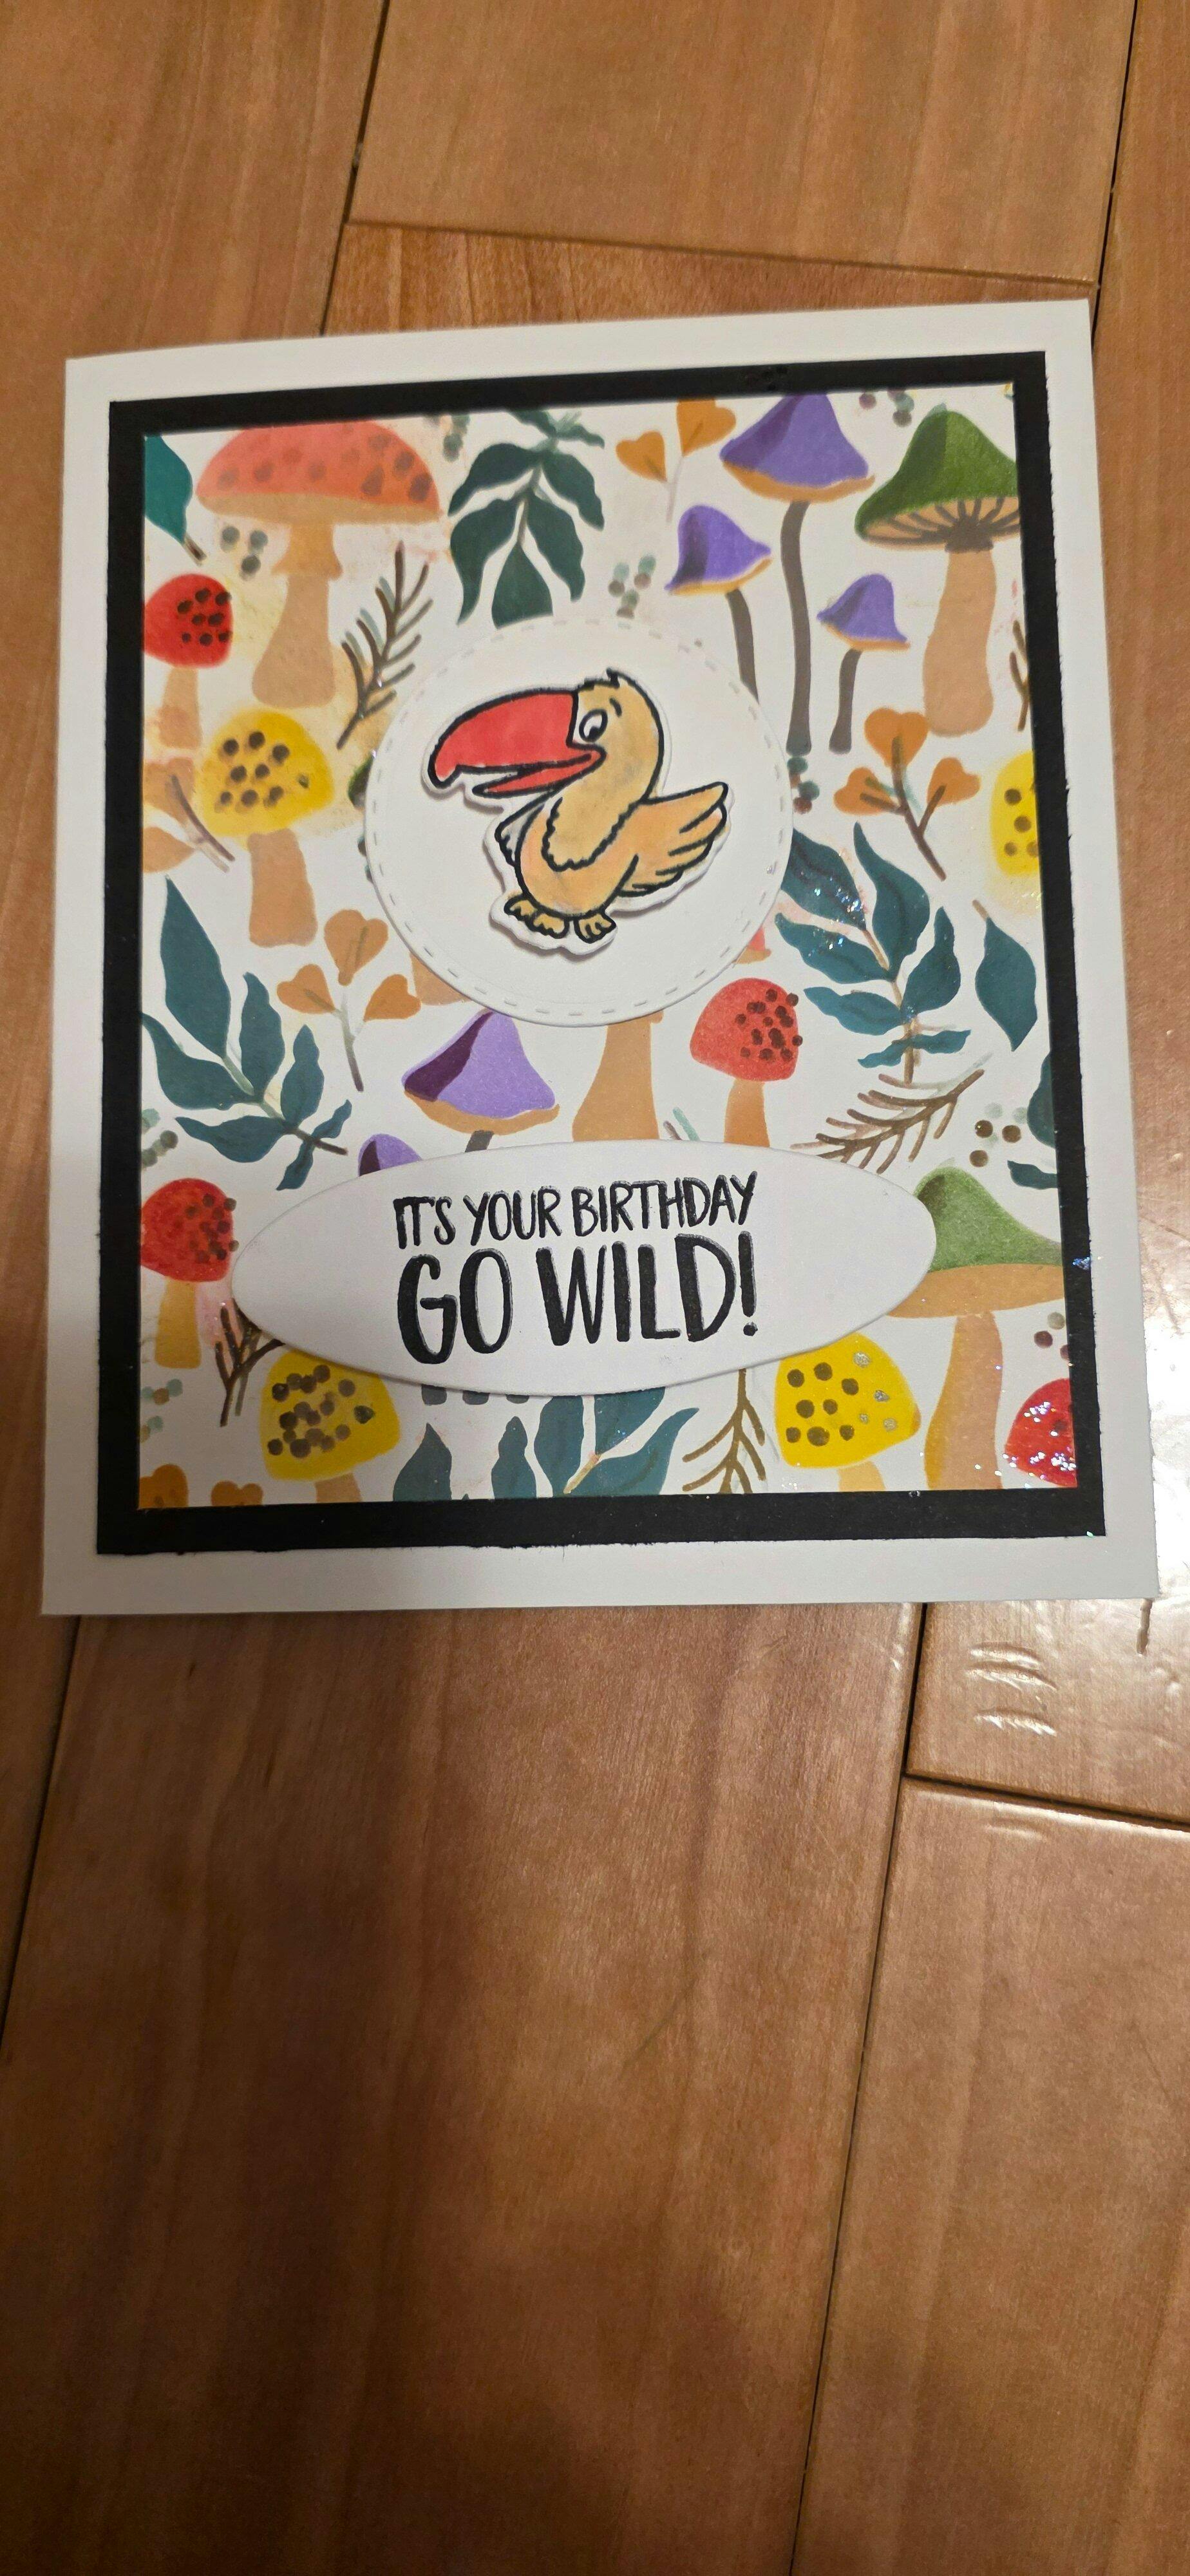
The quality of Gerda Steiner Designs (GSD) stamps and dies are good. I usually use Versa Fine Clair ink and the stamp on the card come out very clear and crisp. I just made a card for my sister in law's birthday using GSD Go Wild stamp and die and I use Altenew mushroom stencils as the background. I have fun making this card.
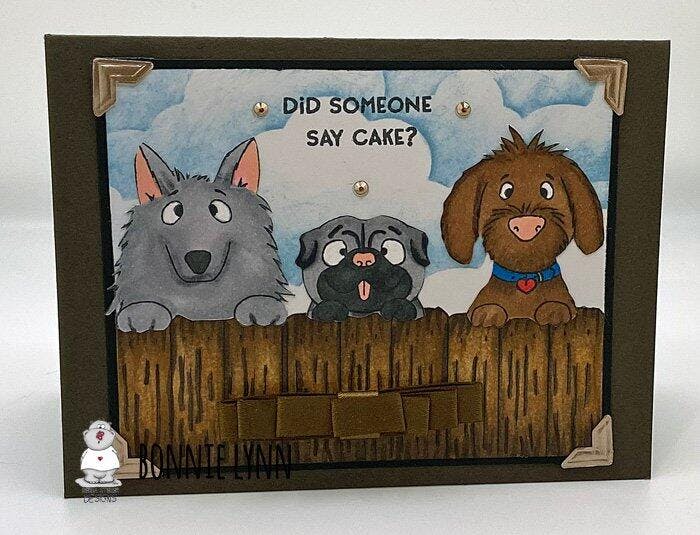
Great quality and stamps perfectly. Such a fun set!!
This is a totally adorable set and is perfect for the crazy cat person....like me. ;)